Emily Blue B
  • Home
  • The Blog
  • Shop My Looks
  • About Me & Let's Chat
  • Link Roundup

10 Tips for The Prettiest Cakes

3/29/2018

0 Comments

 
Hey guys!

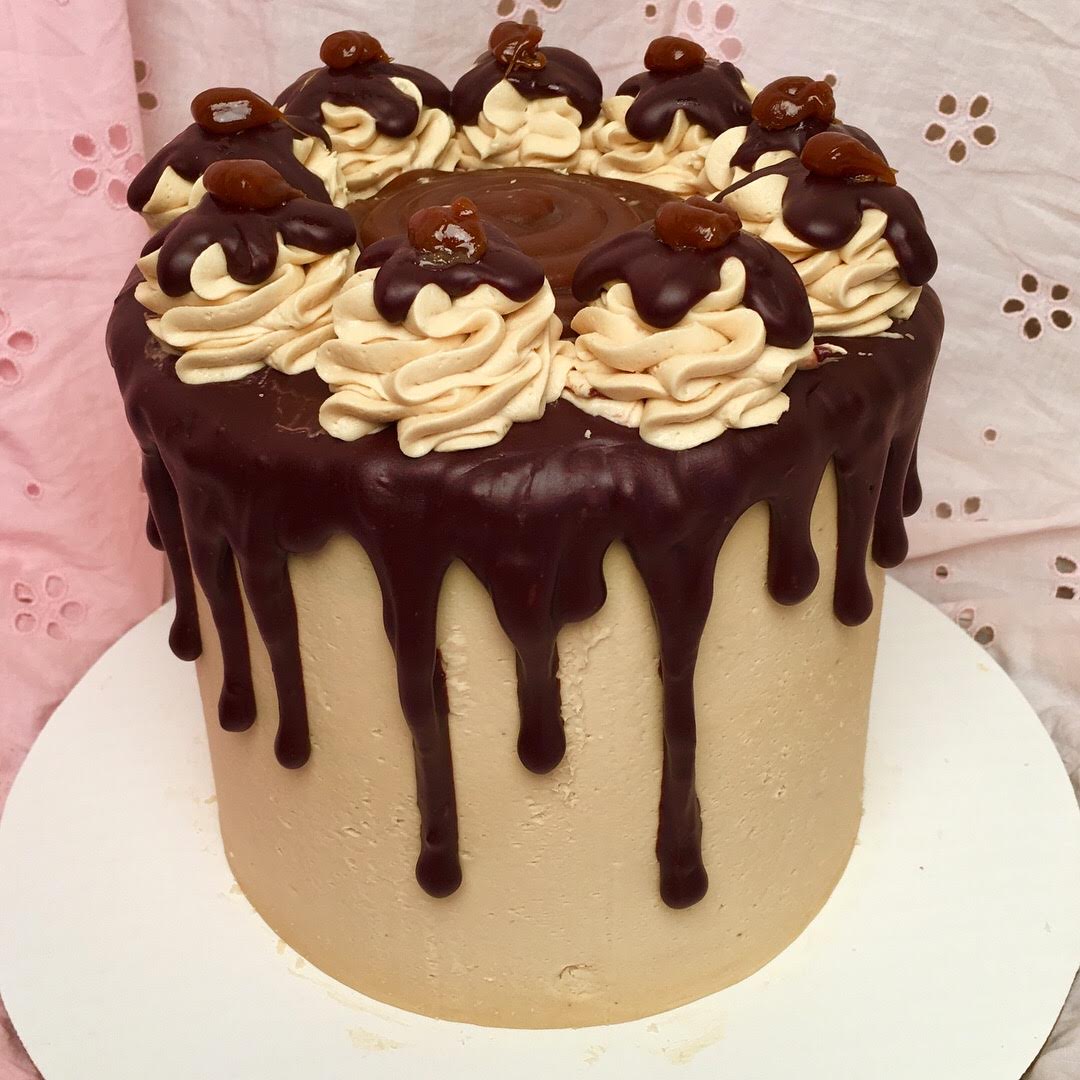
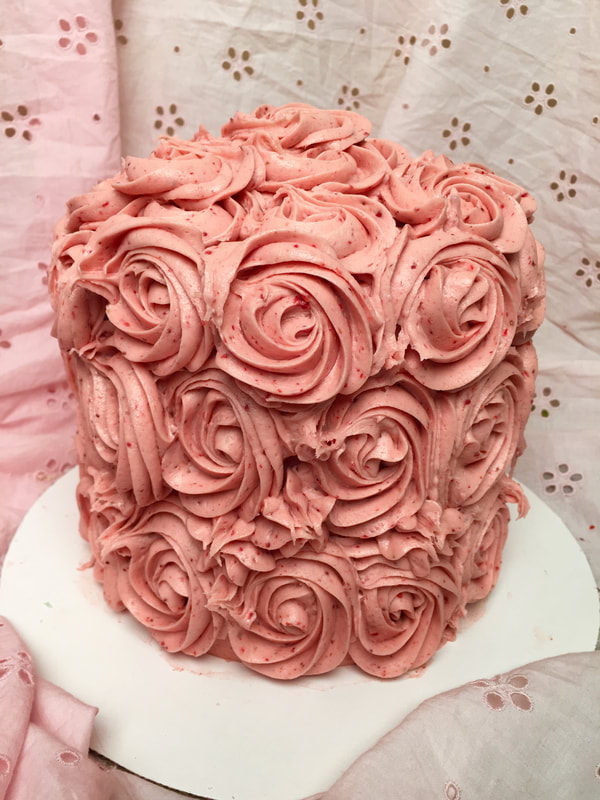
I am on a bit of a cake-kick at the moment: as in I made 4 full size layer cakes in one week over spring break.  They weren't for orders- I just really wanted to make some cakes.  In light of this cake craze I'm going through, it made me think back to my first few layer cake experiences. Yes, experiences. Let me just paint you a picture: uneven sliding layers, sagging buttercream rosettes, and a whole lot of tears on my part.  The things that are second nature to me know were all learned the hard way. Why learn from your own mistakes when you can learn from mine instead! So to save you some pain, I'm going to go ahead and let you in on my favorite tips and tricks for the prettiest cakes.
  1. Make sure you are using a dense enough cake recipe. Fluffy, airy, beautiful angel food cake has no place here. When you are making a pretty layer cake, the cake has to be sturdy enough to take a little bit of a beating when you are frosting it- so it will hold its shape best with a denser, buttery cake. To get a denser cake; swap out any oils for melted butter, swap baking soda for baking powder, and if it calls for milk add half milk and half vanilla greek yogurt (just trust me).
  2. If your cakes come out of the oven with a domed top, don't try to even it out by cutting off the top. Unless you're an expert, it'll be like when you go in for a haircut and ask for a trim and you walk out with a whole new 'do. Instead of trying to even it with a knife, just lay it dome-down on a cooling rack and it'll flatten out on it's own!
  3. Before beginning to frost your cake, freeze your layers. This reduces the amount of crumbs that will end up in your frosting, and will help your layers hold their shape through the little bit of a beating they get in the frosting process.
  4. Get a cake turntable, like this one. I cannot even imagine frosting a cake without being able to spin it around. Save your neck and back, and just buy one. Feel free to thank me later.
  5. Do a crumb coat. Do you really want to have gotten this far and gone through all this trouble to make a delicious little cake only to have crumbs in your frosting exposing how impatient you are? I didn't think so.
  6. And after you do that crumb coat, throw the whole thing in your fridge or freezer to harden. This will help you achieve that ultra-smooth fondant looking buttercream with sharp edges. 
  7. If you are covering your cake in rosettes,add some extra powdered sugar to your buttercream recipe. Rosettes made of light, fluffy, airy buttercream may taste magnificent- but no one would get to know because it'll all slide off the sides of your cake before anyone gets to try it. So, I'd recommend adding an extra 1/2 to a full cup of extra powdered sugar into your buttercream recipe before you start piping rosettes!
  8. If you are going for a smooth buttercream look, go ahead and do yourself a favor and get one of these. It is so much easier than trying to use a big angled spatula. Just line it up flat against your cake round, spin it on your cake turntable, and ta-da! Okay it is not quite that easy, but it does really help the process along.
  9. If your cake is multi-tiered, you have to put supports in it. I don't care how little the tiers are, unless you want your whole cake to cave in on itself, invest in a pack of these.
  10. ​If you are transporting your cake any distance, put it in the fridge overnight. This will make the butter in the buttercream harden back up so if God forbid your cake does get bumped when you are trying to move it- it's okay because it is about as hard as a stick of butter right out of the fridge. Don't worry, your buttercream will be just as creamy, fluffy, and delicious as ever once thawed back to room temperature! 
I will leave you with those for now! If you would want me to go more in-depth with the decorating of my cakes, I would be happy to do so! So just let a girl know in the comments down below!

Happy Baking!
Emily B
0 Comments


Leave a Reply.

Home
Blog
Contact
Copyright 2022 Emily Blue B - All Rights Reserved
  • Home
  • The Blog
  • Shop My Looks
  • About Me & Let's Chat
  • Link Roundup